Build of Testors Lincoln Mint 1932 Ford Roadster, kit no. 7121
12/28/14
||
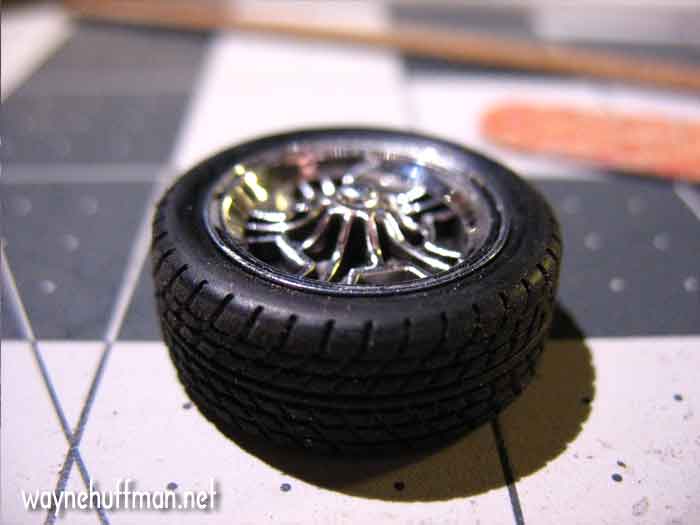
Tonight I skipped ahead a few steps and worked on the wheels and tires. The interior pieces need painted and it's been a little chilly here to spray paint, and I want to practice with my new airbrush (thanks Brendan McCann) before I tackle the seats and door panels. Plus I've been itching to see what the tires and rims look like together.
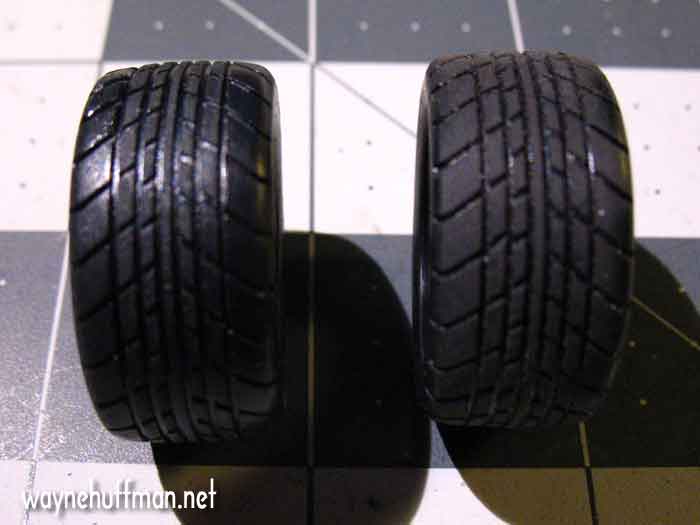
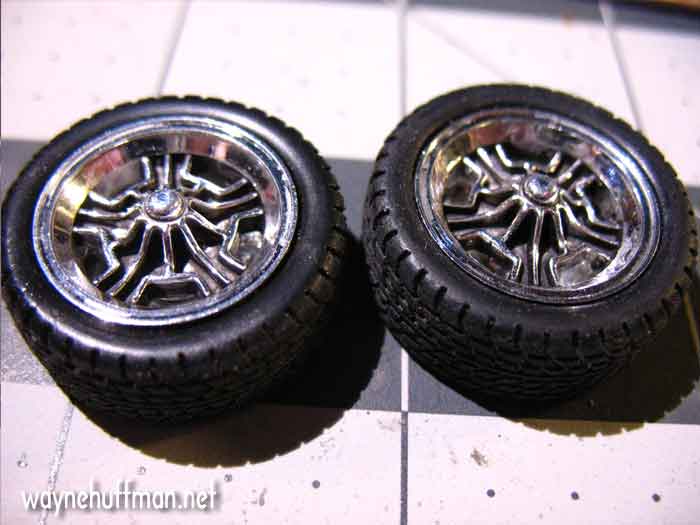
The tires are nicely molded in rubber with no visible seams. The stock tire is on the left, very shiny. So I used a sanding block to take some of the shine off and make the tire look a little more realistic. The tire on the right is after about a minute of sanding, just enough to make it look slightly worn and more scale.
Tire on the left is new, on the right I've used a very fine sandpaper to knock the shine off the sidewalls. It makes a big difference.
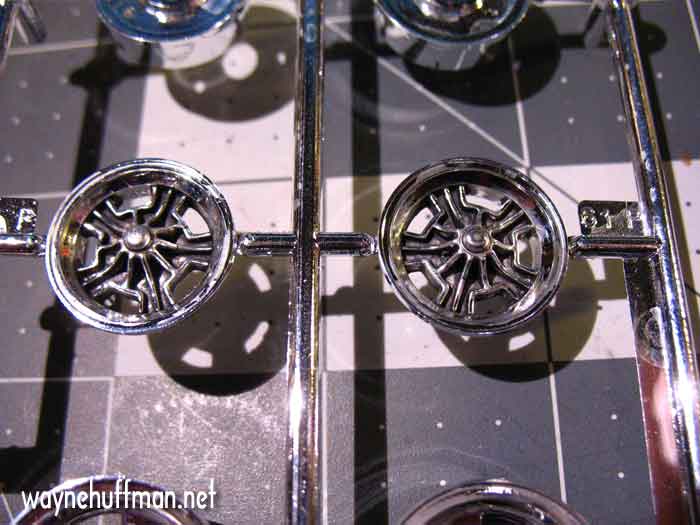
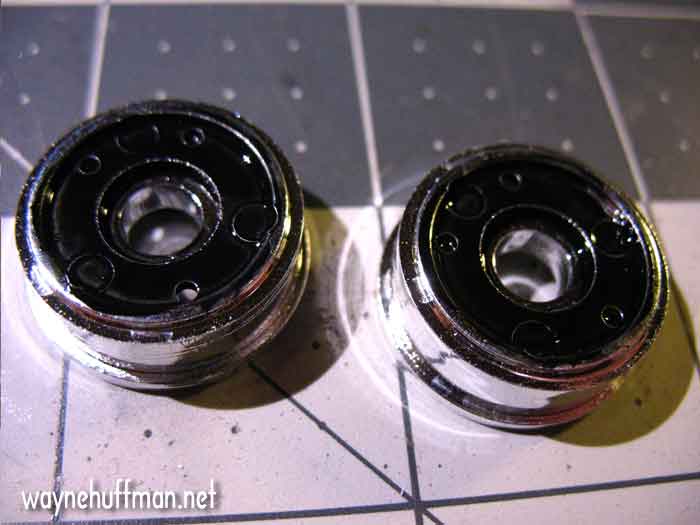
The front rims after a blackwash to give them some depth.
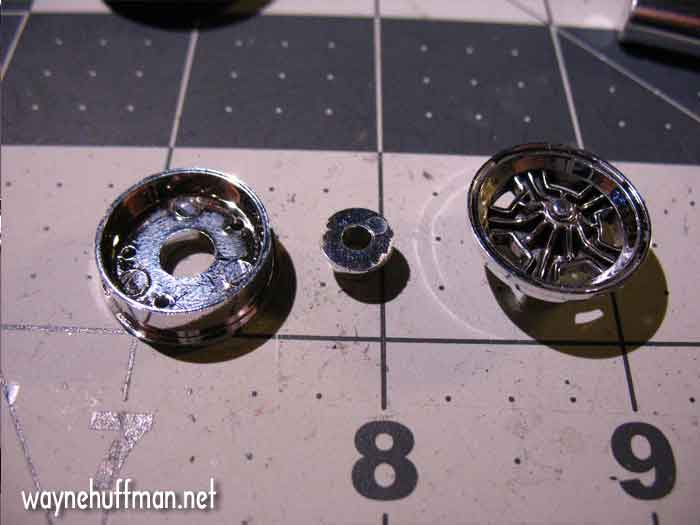
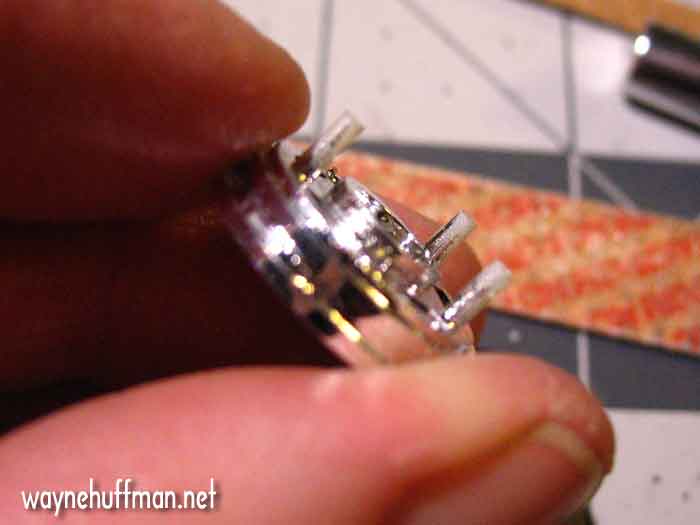
The three piece rims. If you are observant you will notice the shiny chrome from the back half of the rim will show underneath the outside half of the rim. This would be bad since real rims are open all the way through and the shadow under the car would essentially look black through the rim. I wasn't very observant...
This is what I should have done before I assembled the rims- a coat of flat black on the backside of the inner half of the rim. When assembled this is what you will see "through" the rim from the outside. It should look like the shadowed area you would see looking through a real rim.
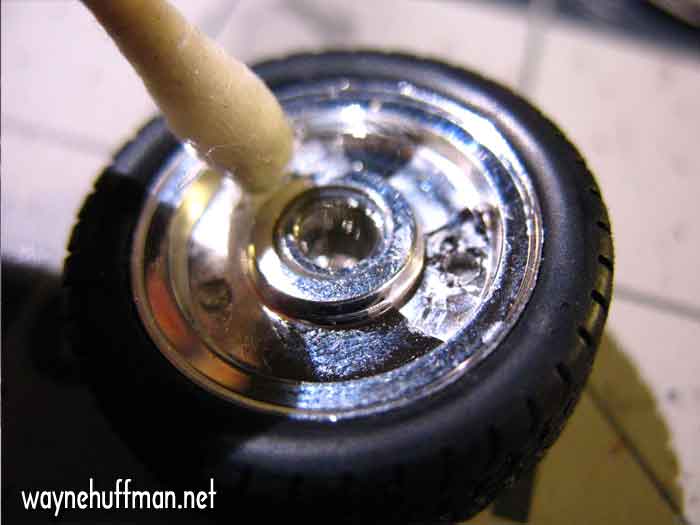
But I plunged ahead and dry fitted the rims oblivious to the shadow issue. I'm glad I dry fit the parts because I discovered another issue with the chrome plating- just thick enough to prevent a proper fit. In this case the pins on the back of the outer rim half won't fit into the locating holes on the inner rim half. You can see how the rim extends past the tire and won't seat down in it.
See the gap between the rim halves? I need to sand that plating off so the pieces fit correctly.
I've used a nail file and sanded the chrome plate off the pins.
I've also sanded the chrome off the back of the hub. This could also have prevented the two halves from joining tightly.
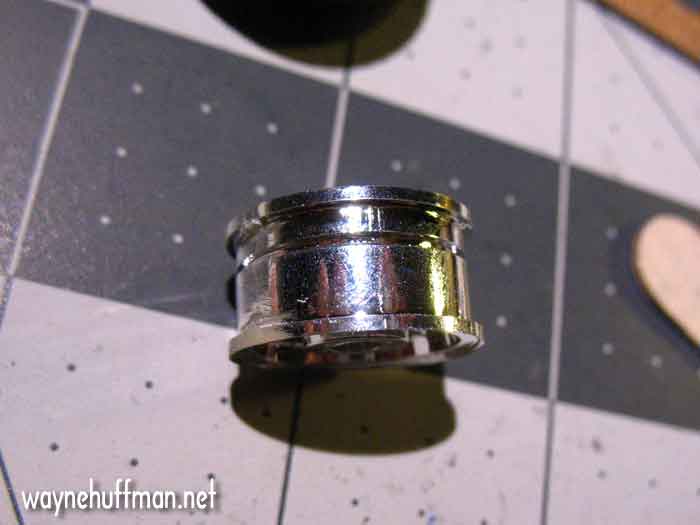
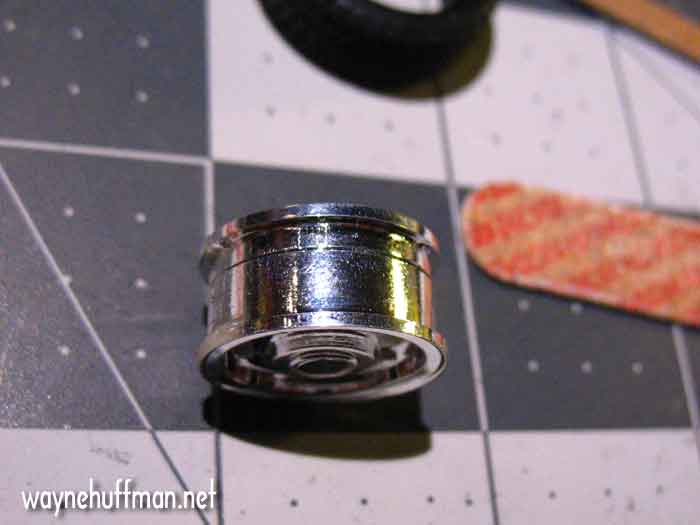
The two halves fit together tightly now, and sit in the tire properly with no gap.
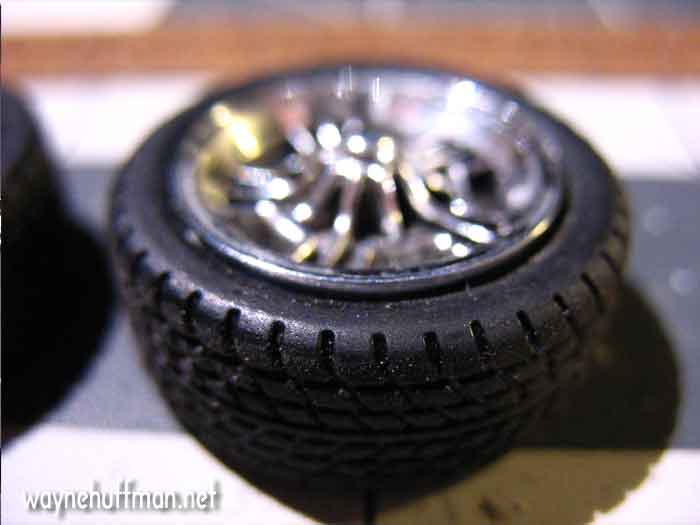
The front wheels completed. Now you can see the chrome back rim showing through the outer rim. Oops.
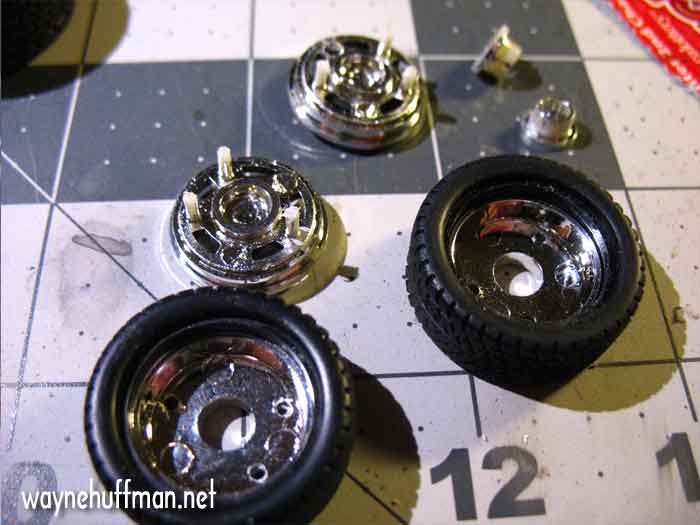
I could have left it, but it would have bugged me. I used super glue on the pins so I needed to "unglue" it. Acetone is the only thing that dissolves superglue to I dipped a cotton swab in fingernal polish remover and gently applied it to the pins projecting through the back of the rim. Acetone can also dissolve plastic but I guess I got lucky. Some pressure on the back side of the pins and the whole assembly came apart.
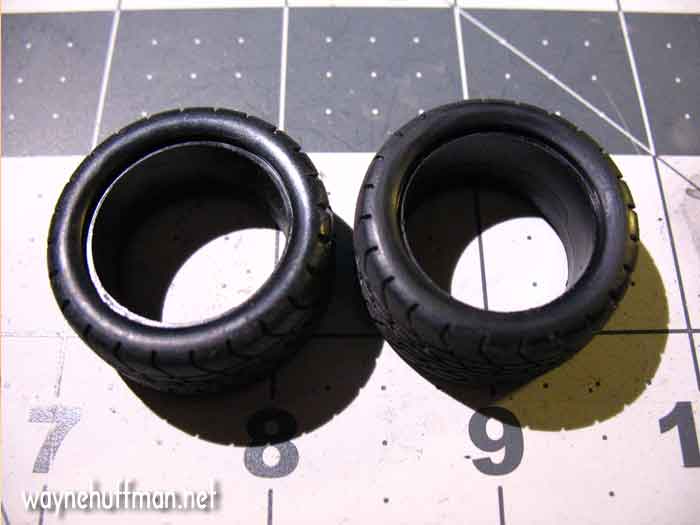
The wheels are separated into their component parts and now I can paint the backside of the inner rims, visible here still in the tires. I learned another lesson tonight, pay attention and always think about what you are doing.