| |
| |
Build of Testors Lincoln Mint 1932 Ford Roadster, kit no. 7121 |
| |
| |
| |
03/20/15 |
|| |
|
| |
|
Here are the last few steps, and the scratchbuilt windshield.
|
| |
|
|
| |
|
|
| |
|
|
| |
|
|
| |
|
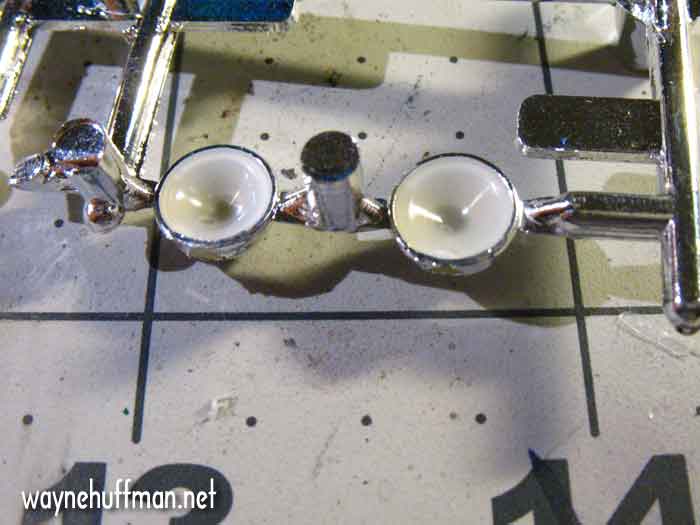
Here's how my headlights looked after the white (Elmer's) glue dried. The glue dried pretty clear, but shrunk. I did this a few times. The first time I saw this, I added more glue to build up that nice rounded headlight shape. The glue dried very lumpy and not very clear, I'm not sure why. I didn't take pictures of that, but I ended up with the best results by doing just one coat of glue and leaving it. This was the best I could get. Still way better than empty chrome headlights so I'll move on. |
| |
|
|
| |
|
|
| |
|
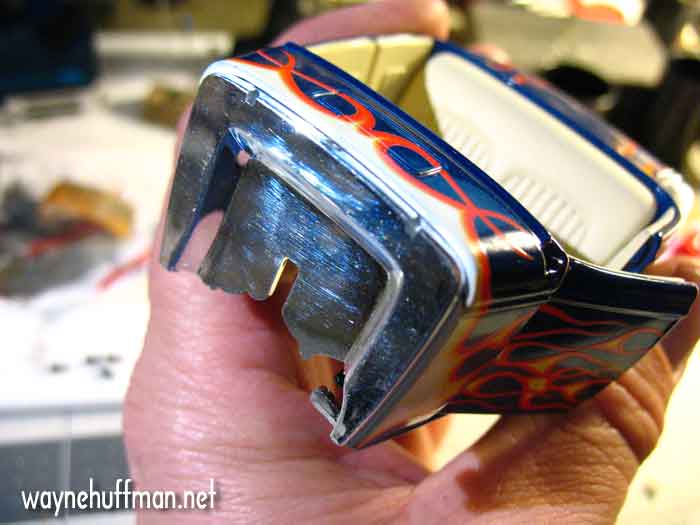
Here's the chrome plated firewall glued in place. I did some dry fitting here to make sure the steering mechanism would fit through the oddly shaped cutout. I think that's where I'll run that piece of black wire that is representing the fuel line to get it out of sight. |
| |
|
|
| |
|
 |
| |
|
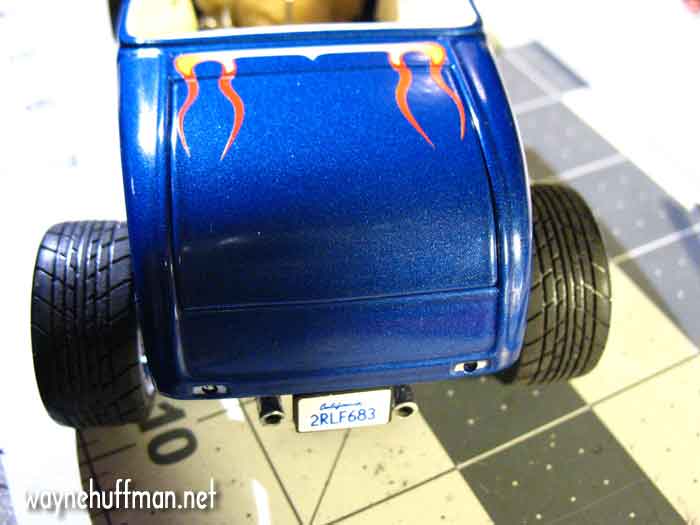
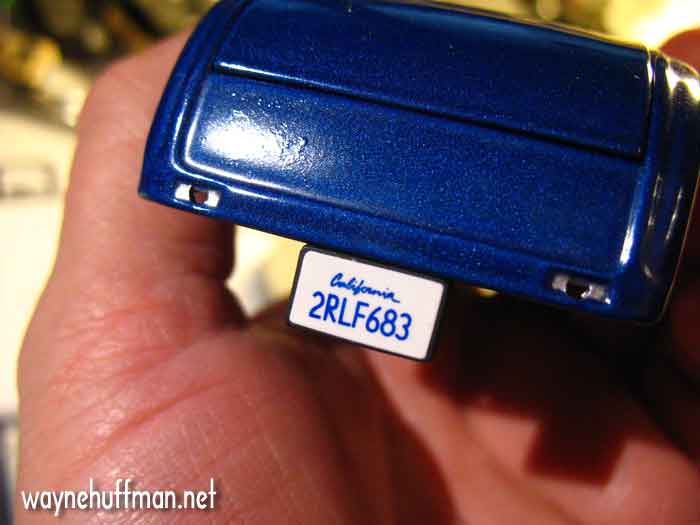
The license plate is a sticker that goes on a plastic frame and glues into the body. I didn't do any customizing here. You can see the holes where the taillights are supposed to go. My kit didn't have them so the empty holes go unfilled. I have an idea that red beads may be suitable substitutes. I've asked my wife to go through her craft drawers. |
| |
|
|
| |
|
|
| |
|
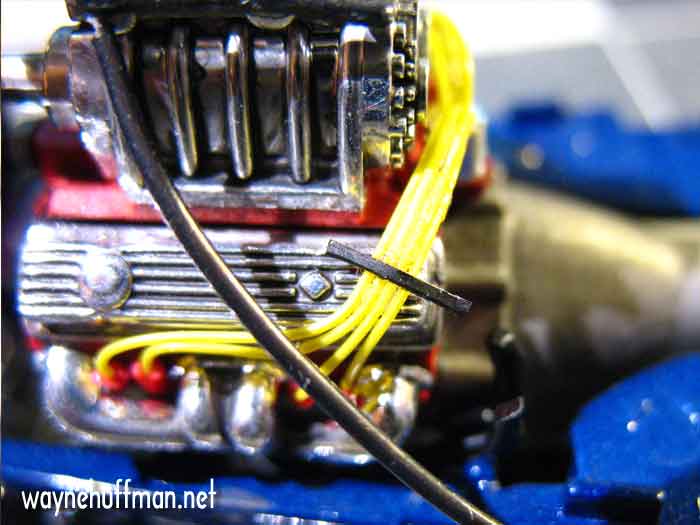
The spark plug wires hanging in space were bugging me so I'm making a wire loom out of black painted copper tape cut very thin. On a real car there are plastic looms that hold the wires neatly next to each other, and keep them from touching hot engine parts. I superglued the black tape onto the wires here, I'll bend the ends under once the glue dries. |
| |
|
|
| |
|
 |
| |
|
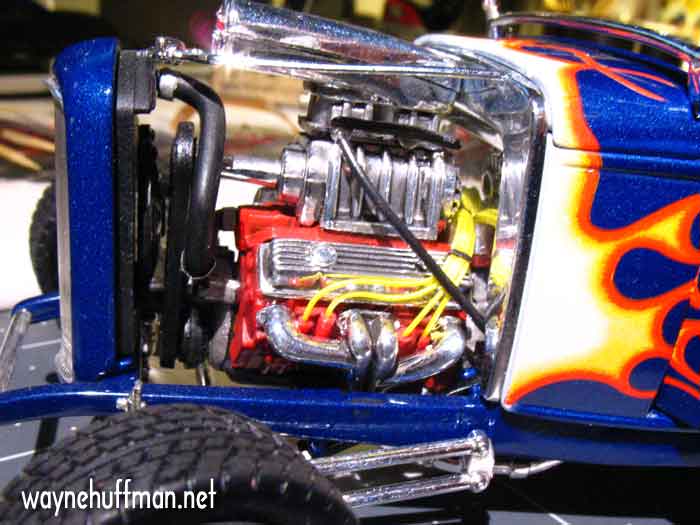
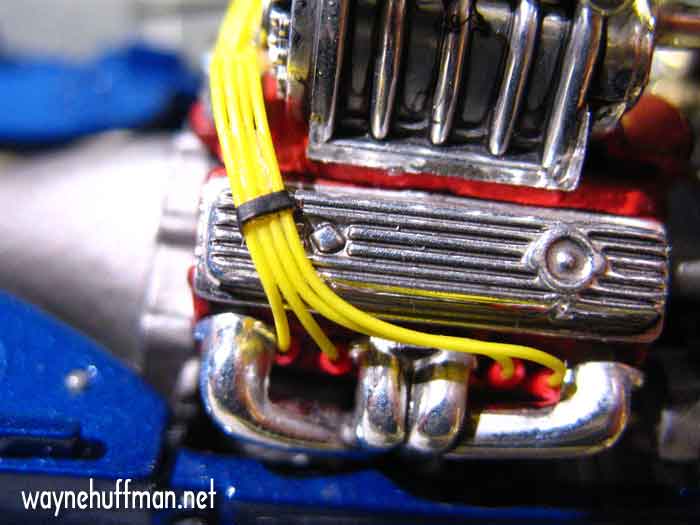
Here's the finished wire loom, the ends are tucked under with a tiny drop of superglue to hold. This piece of tape is probably 1/32" thick, very small. But the effect is big, it looks like the wires now have some logical reason why they are in tight arrangement. It makes sense and looks much better than before |
| |
|
|
| |
|
 |
| |
|
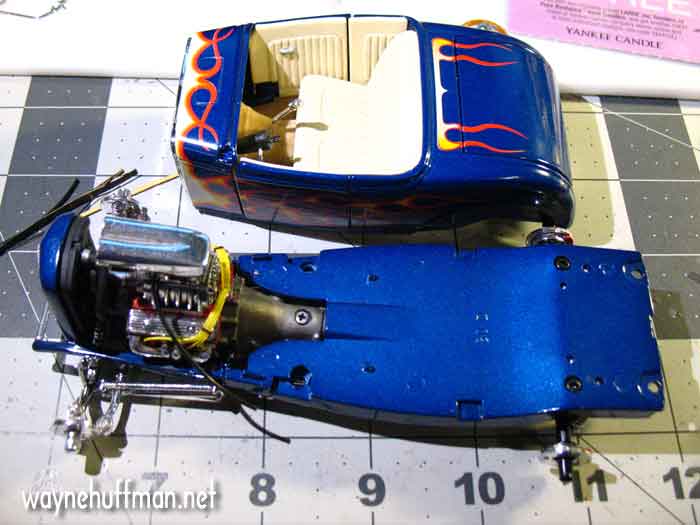
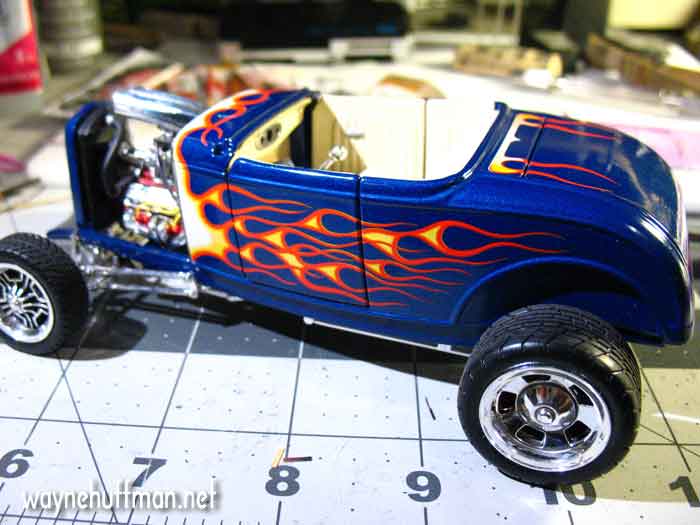
Here is the body nearly complete, and the chassis. After much dry fitting it is time to attach them using the 4 screws provided. |
| |
|
|
| |
|
 |
| |
|
The body sits on the chassis correctly since I enlarged the holes in the floorplan in the earlier steps. I verified the body was down as far as it could go. I cheated a little and attached the wheels too, the instructions have you do it as the last step. The wheels just press onto the axles. They are a little wobbly when pressed on but the weight of the car presses down and straightens them out. The steering mechanism is not great, before I glue the steering wheel on I am going to turn the front wheels slightly so it looks a little more dynamic then glue the steering wheel on and forget about being able to turn it back and forth. |
| |
|
|
| |
|
 |
| |
|
One of the screws that holds the body to the chassis. |
| |
|
|
| |
|
|
| |
|
The exhaust is fairly centered and are the same height. I still don't have any ideas for the taillights. Maybe I'll just leave them as-is. You can see the wheels are pretty straight and don't look too wobbly. |
| |
|
|
| |
|
|
| |
|
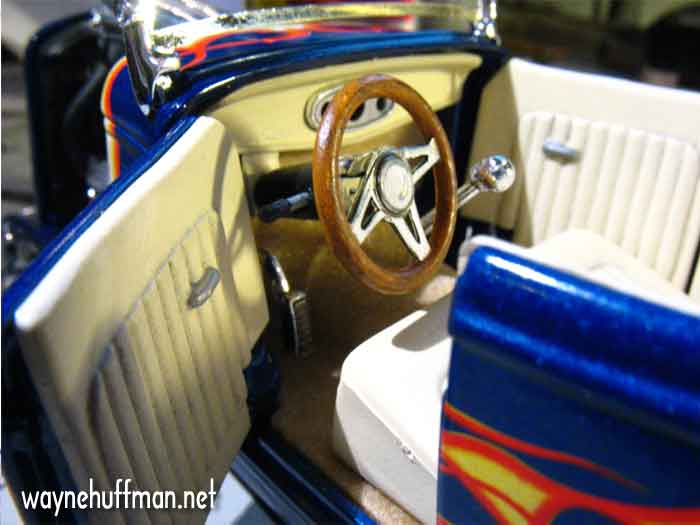
Here's the finished interior. The steering wheel is superglued to the steering column which froze the steering. The wheel is turned just to the left which I think makes it look more interesting, the wheels are turned slightly to the left. You can see the door handles have been painted silver which adds some interest to the door panels. The weathering on the interior is very subtle. |
| |
|
|
| |
|
|
| |
|
Here's the "fuel line" running through the firewall. I got lazy here, the right way to do it would have been to drill a small hole in the firewall up higher so the black wire would run through at a level angle, but I figured this was good enough, and I was getting a little impatient to finish. This shows the spark plug wire loom in place, and you can see the subtle weathering on the tire too. |
| |
|
|
| |
|
|
| |
|
The next issue is finding something to work as a windshield since my kit didn't come with one. Here's the packaging for a computer fan I had, the clear plastic window is just stiff enough to hold it's shape, but thin enough to cut easily. The plastic is a little scratched up but I don't think it will be a big deal since it's so thin. |
| |
|
|
| |
|
|
| |
|
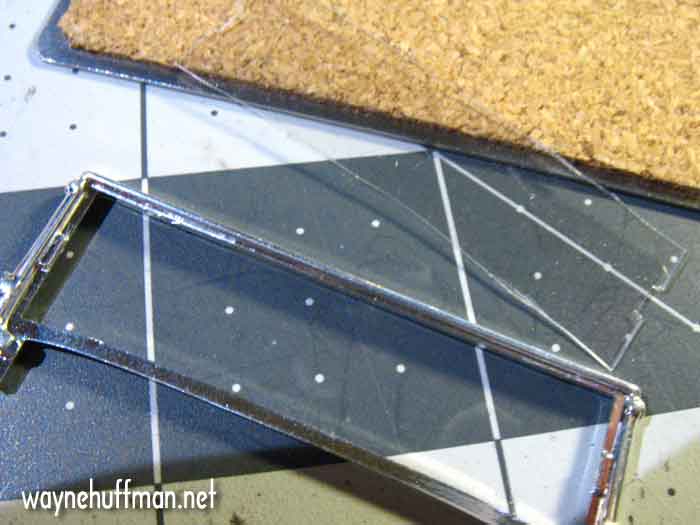
Here's the windshield frame and a few attempts at cutting the windshiel out. I used a pencil to trace around the frame onto a piece of paper, then taped the piece of plastic over the paper. Then I just cut along the pencil line with an x-acto knife. I had to do it more than once. |
| |
|
|
| |
|
|
| |
|
|
| |
|
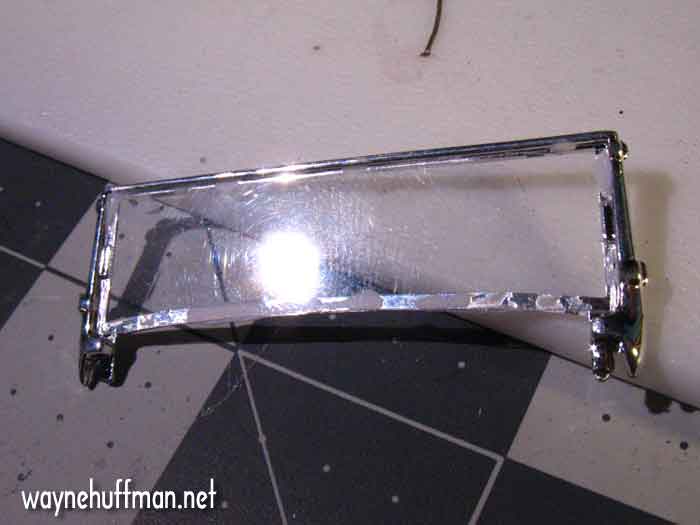
A few attempts before I got it right. I'm using white glue again because it dries clear. Less is better since you can see how it smeared in the top picture. |
| |
|
|
| |
|
 |
| |
|
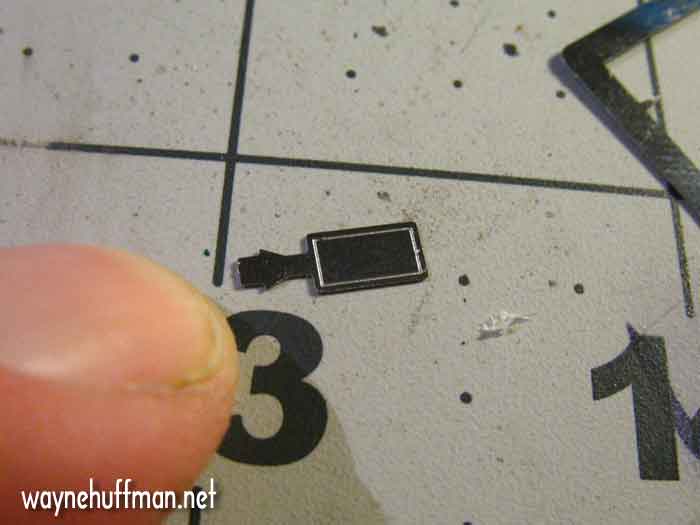
Here's the tiny photoetched side mirror that will be glued to the windshield frame once it's in place. |
| |
|
|
| |
|
Next: Beauty shots of the finished model! |
| |
|
|
| |
|
|
| |
|
|
| |
|
|
| |
|
|
| |
|
|
| |
|
 NEWER NEWER |
Beginning of this build |
OLDER |
| |
|
|
|