| |
| |
Build of Testors Lincoln Mint 1932 Ford Roadster, kit no. 7121 |
| |
| |
| |
02/12/15 |
|| |
|
| |
|
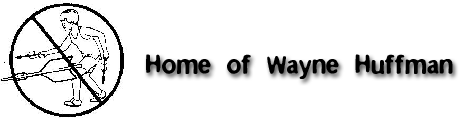
Attaching the rest of the interior pieces.
|
| |
|
|
| |
|
|
| |
|
|
| |
|
|
| |
|
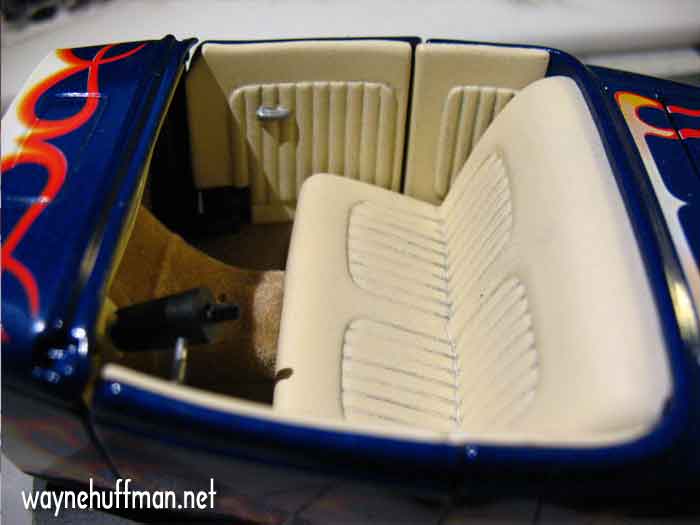
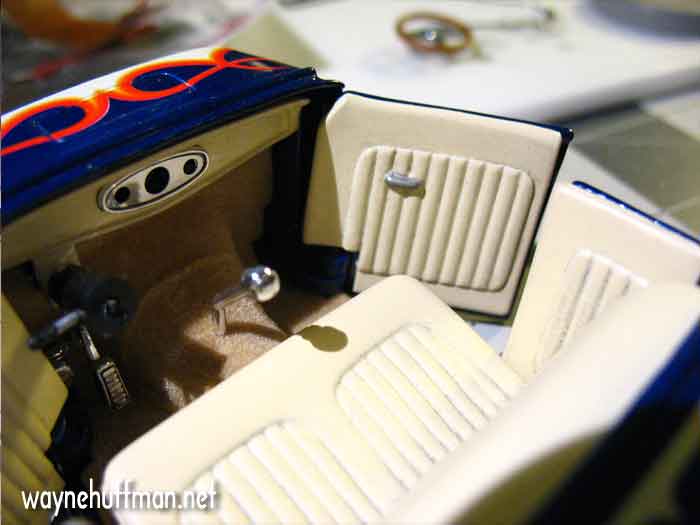
I've put the flocked floorpan in to test fit it and I've glued the doorpanels in place. The instructions are not very clear how the floorpan goes in. It does go in from the top, with a kind of scooping out motion, the front goes in under the dash, then up and forward as the back goes down. A little sanding on the flocked piece may be necessary to get it far enough forward. The doorpanels just clear it when the doors close. |
| |
|
|
| |
|
|
| |
|
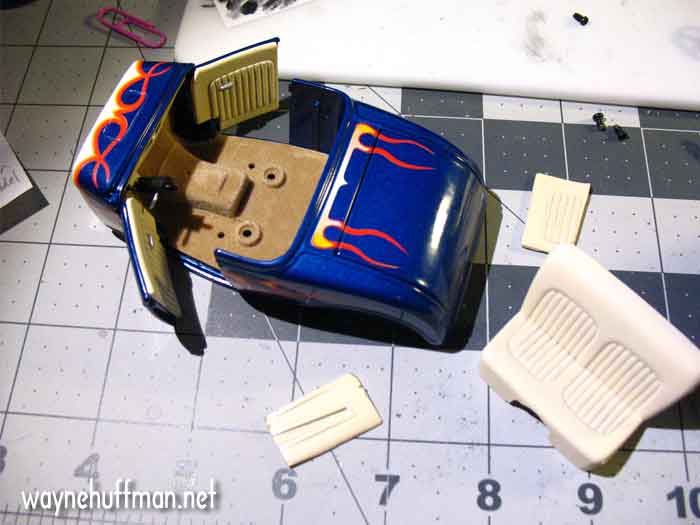
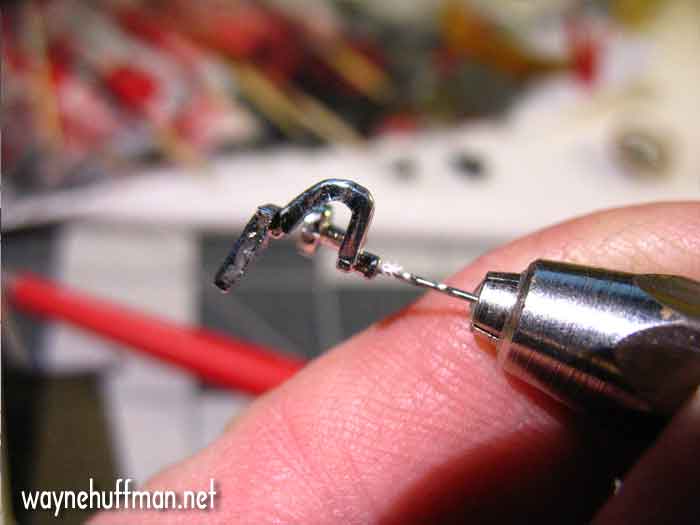
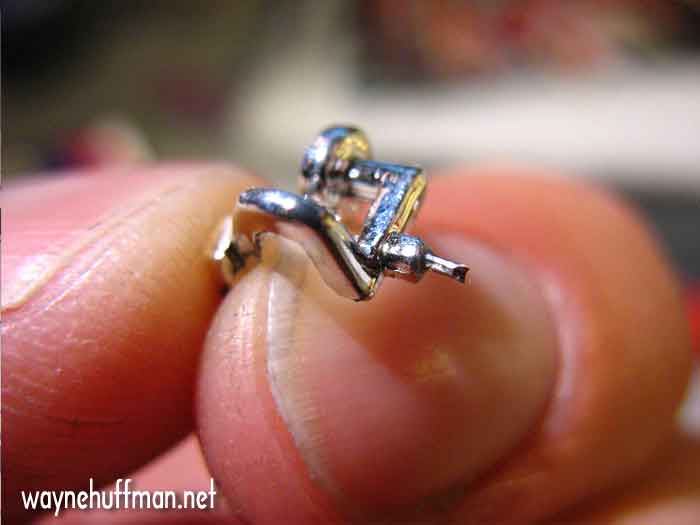
The gas pedal should go in next. There's not much of a locating pin on it, and the hole in the floorpan is hidden by the flocking so I decided to drill a hole in the back of the pedal piece and superglue a piece of wire in to help locate it and give something for the glue to hold onto once it went into the flocked piece. It's a small piece. |
| |
|
|
| |
|
 |
| |
|
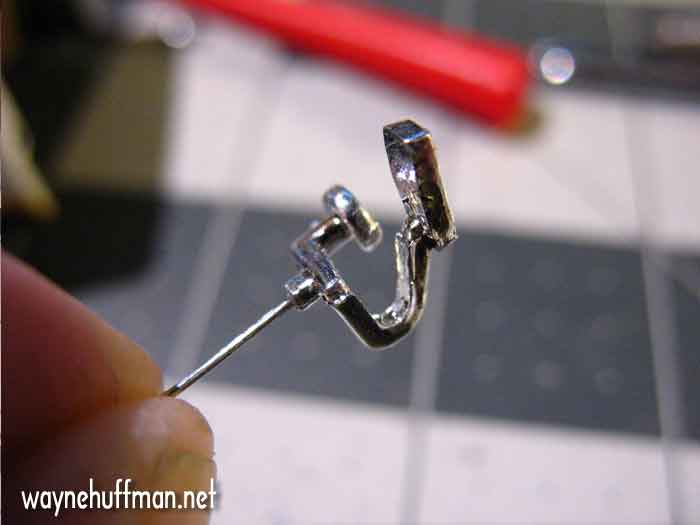
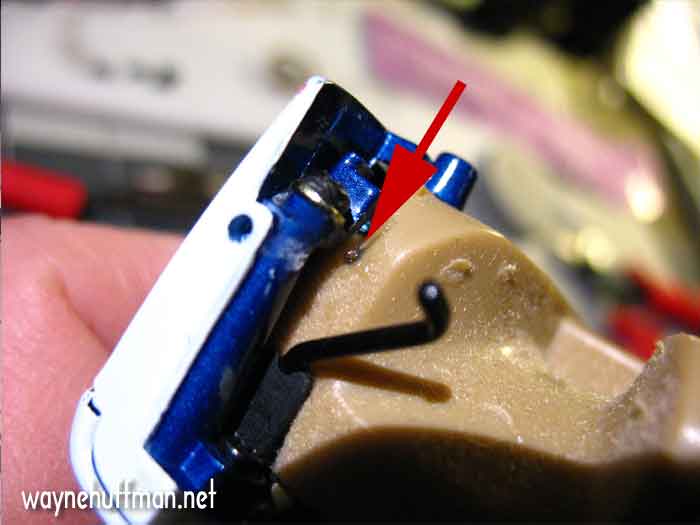
Here's the underside of the floorpan, the arrow is pointing to the wire on the back of the pedal, poking through the hole in the floorpan. I dropped some superglue onto it from this side to secure it, otherwise it would've come out since the flocking on the other side will prevent a good glue bond. |
| |
|
|
| |
|
|
| |
|
Then the seats and the trim pieces went on. I superglued the trim pieces and the seat screwed onto the flocked piece. |
| |
|
|
| |
|
 |
| |
|
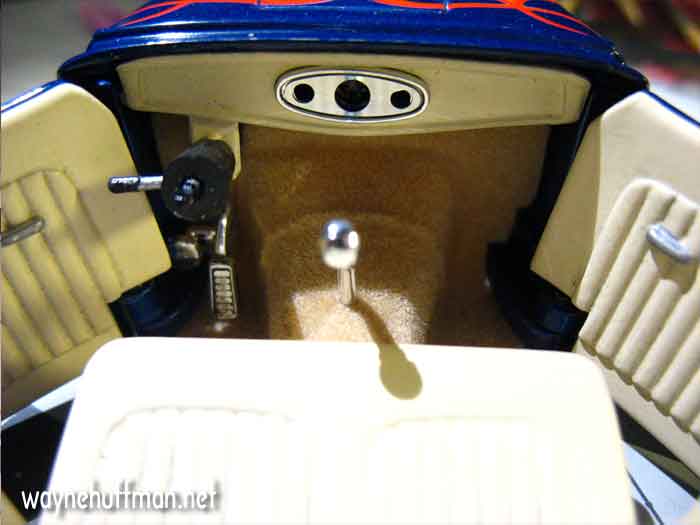
With the shifter glued into place the same way as the gas pedal, that is from the underside where there's no flocking. I'm glad I didn't glue the steering wheel on yet. |
| |
|
|
| |
|
 |
| |
|
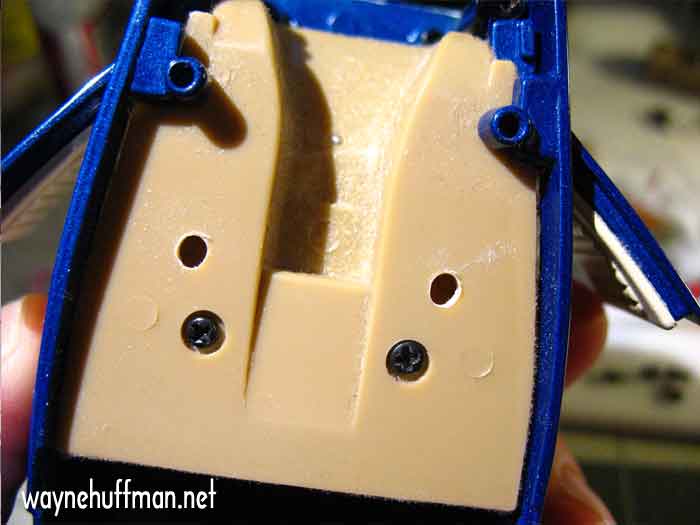
I took a second to dry fit the body to the chassis. It didn't fit. The body wouldn't drop down onto the chassis, it sat too far up with a gap between the two. Remember the holes for the locating pins on the chassis? They didn't line up. Fortunately the holes are hidden by the seats so I took a circular file and just enlarged the holes, mostly towards the front. Eventually I got to the point where the pins would fit up into the enlarged holes and everything sat down right and tight. |
| |
|
|
| |
|
 |
| |
|
So far so good. I'm pretty happy with how it looks. Once it's on the chassis and screwed into place I'll attach the steering wheel. I want to make sure the wheels are straight, then glue the steering wheel to the metal linkage sticking up through the steering column so the spokes are flat and horizontal. I may just glue the hole thing solid and not worry about the steering action. |
| |
|
|
| |
|
 |
| |
|
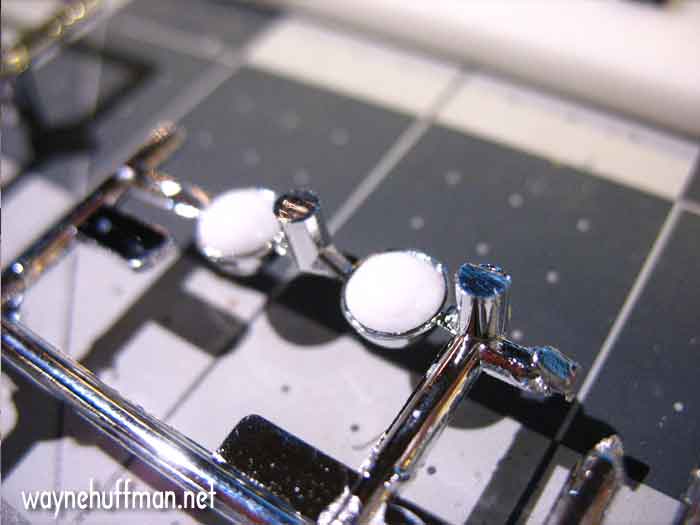
Looking forward a little I decided to try something on the headlight housings. Since my kit didn't have the clear pieces I don't have the fronts of the headlights. White glue dries clear so I just filled the lights with glue, surface tension gives them a curved front. I'll let it dry for a few days and see how it looks. |
| |
|
|
| |
|
|
| |
|
Next: Attaching the body and the wheels |
| |
|
|
| |
|
|
| |
|
|
| |
|
|
| |
|
|
| |
|
|
| |
|
 NEWER NEWER |
Beginning of this build |
OLDER |
| |
|
|
|