Build of Testors Lincoln Mint 1932 Ford Roadster, kit no. 7121
12/25/14
||
Merry Christmas! I worked on the model last weekend and a little bit today. Getting close to installing the interior, and body and finishing it. Here's what I've done.
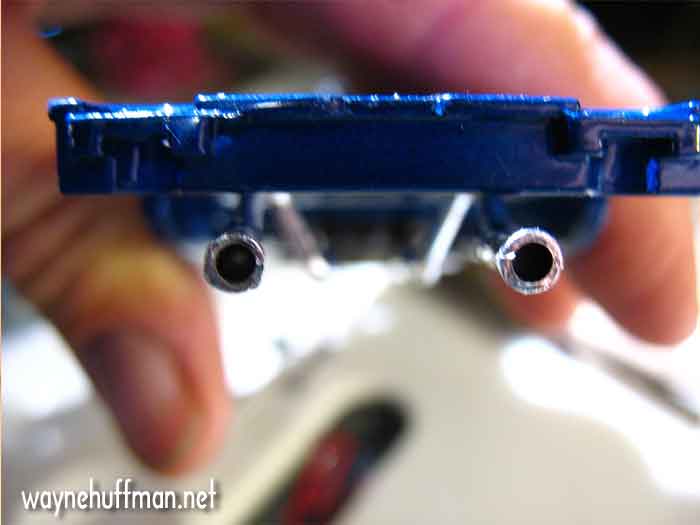
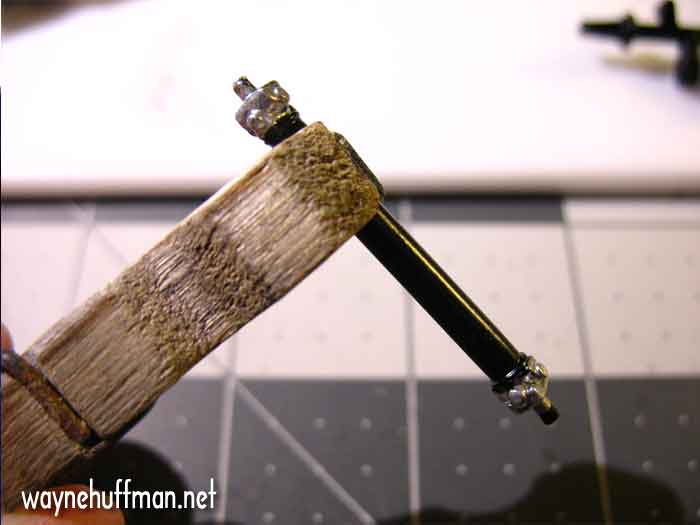
To correct the uneven tail pipes I've heated the left one and bent it into place... Note I used a brush to drop some diluted black paint into the end of the exhaust. Otherwise you would see the chrome inside.
Here's what holding the exhaust over a candle for a very short amount of time did. The thin aluminum leaf on the plastic buckled and warped. Because of the angle it won't be noticed, and it's above the axle so I'm not too worried. Plus I won't be displaying it where you can see the bottom so lesson learned and I move on.
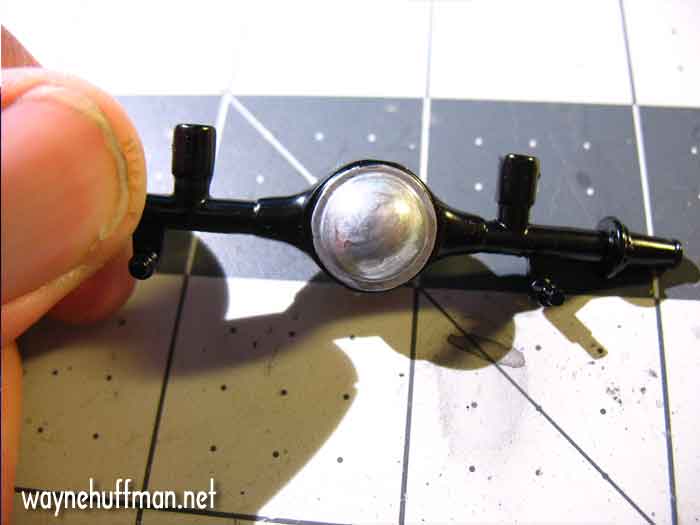
I brush painted Model Master Chrome paint on the axle to give it some interest. I should have black washed it too, but I started getting impatient and skipped that step. It still looks better than the stock part.
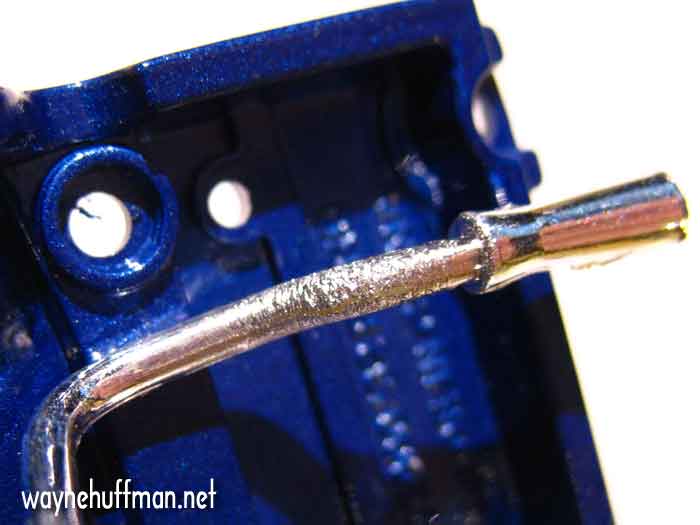
The driveshaft painted.
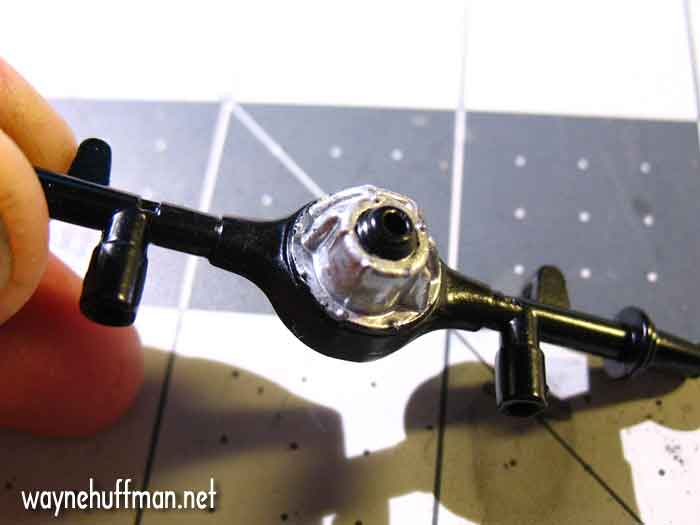
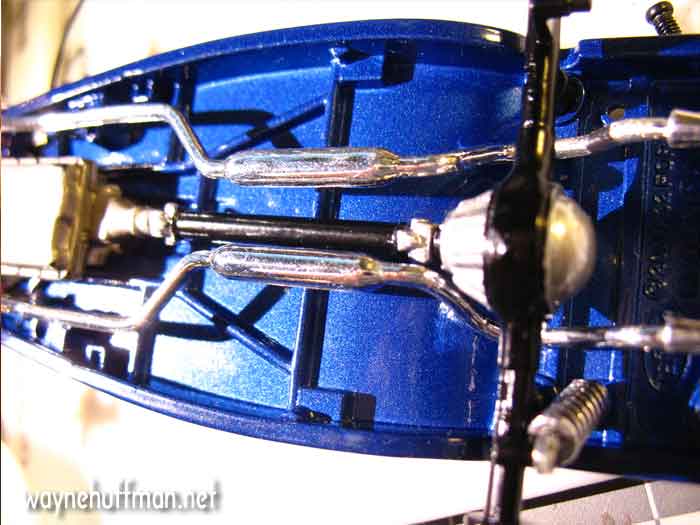
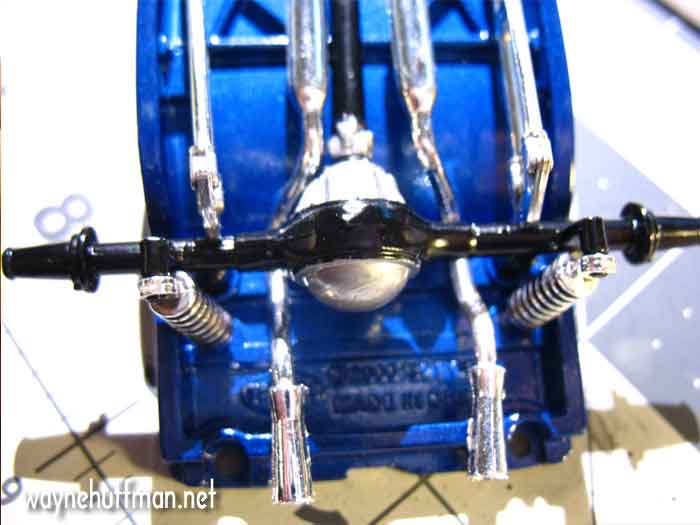
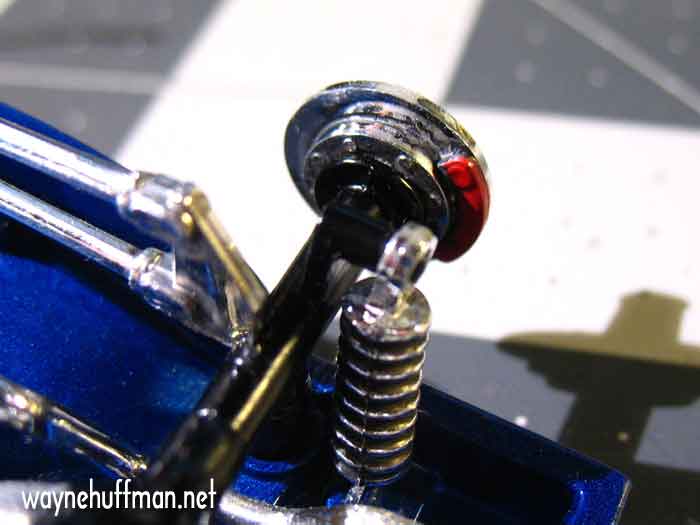
Here's the axle and driveshaft in place, wth a spring dryfitted to the axle. You can see the differential on the rear axle is off center. It looks strange. I don't know if that's the way it is in the real cars or just another design issue. It does look strange this way.
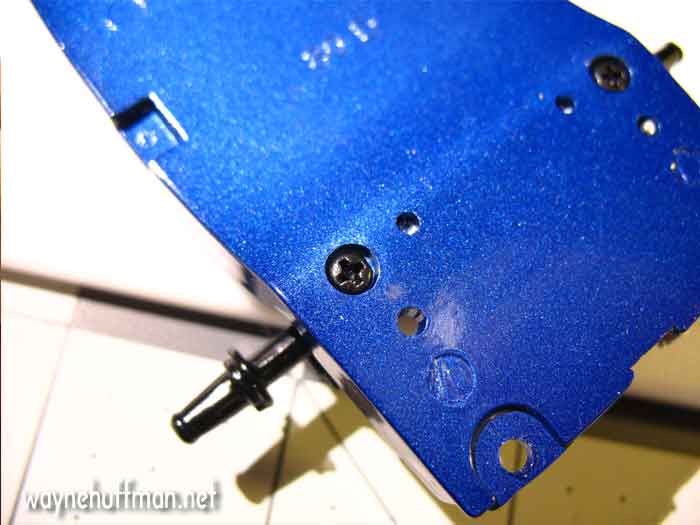
The axle screws into the chassis so there's no chance of misalignment. This is the top of the chassis.
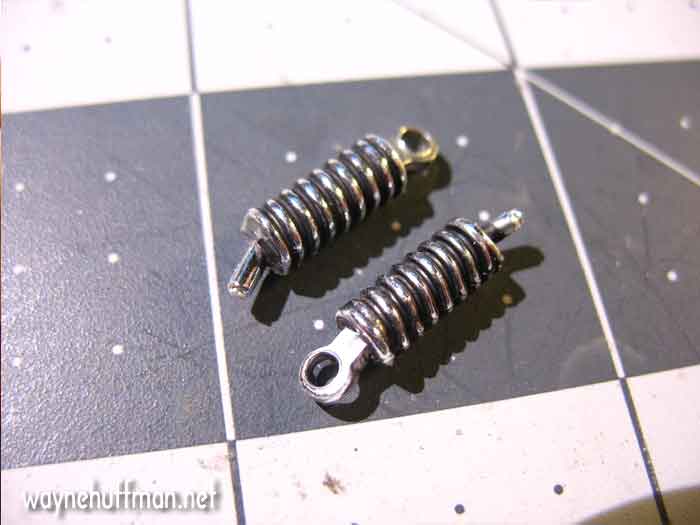
I blackwashed the springs to bring out the detail. I put about 3 coats of wash on to really darken the recesses of the springs. The chrome part without the wash is very unrealistic and boring.
With springs superglued in place. You can really see how asymetrical it looks with the differential offcenter.
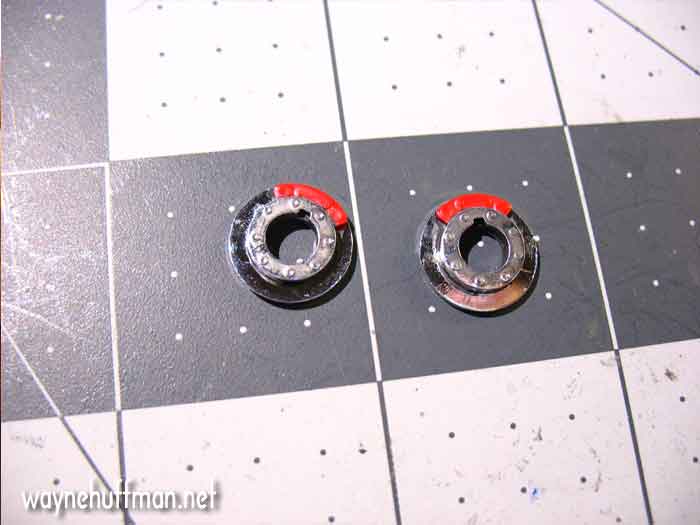
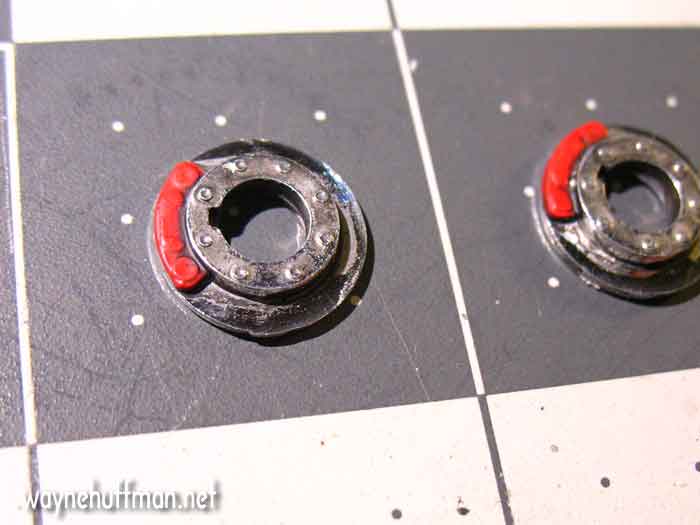
The rear brake discs will only be visible from inside the rear wheels but I painted the calipers anyway.
A little blackwash to bring out the details....
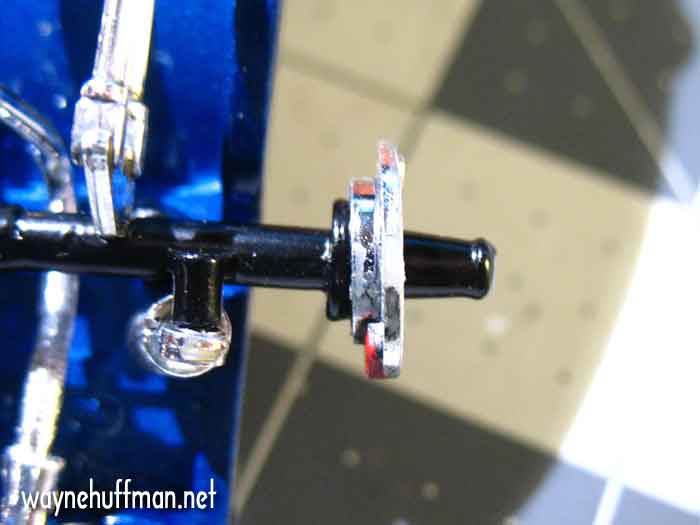
Dryfitting the brakes. Notice how the right brake is not flush on the axle? This is a frequent issue with chrome parts. The paint on the axle and the chrome on the brake disc are thick enough the disc doesn't fit flush like it should, the part is too tight. I sanded the inside of the brakes down and they then fit flush. Note there is a notch on the disc so it fits with the right orientation, calipers toward the rear.
A little superglue on the axle to hold the brake disc and we're done for the night...