| |
| |
Build of Testors Lincoln Mint 1932 Ford Roadster, kit no. 7121 |
| |
| |
| |
11/2/14 |
|| |
|
| |
|
I got a chance to work some more this Saturday and Sunday thanks to some unusually cool and cloudy weather. I believe I'm done with the engine now, and starting with the chassis. I've struggled with the custom radiator hose for the last couple days and have redone it 3 times but I think I've got something I'm satisfied with now. Attaching the radiator to the chassis was a big step as I think now I will be moving much faster.
|
| |
|
|
| |
|
|
| |
|
|
| |
|
|
| |
|
Here's the piece of black wire I am using for the radiator hose, replacing the molded-on plastic piece from the kit. The wire with the copper wire in it was too thick and wouldn't make the sharp bend I needed. So I pulled the wire out and the rubber insulation left was still too stiff. I glued it to the engine 3 times just to have it come off as I tried to bend it. Solution: heat it over a stove burner and soften it enough to hold the bend. Success? I hope so! |
| |
|
|
| |
|
|
| |
|
The hose in place, with a piece of copper tape painted silver to represent a hose clamp. Plus it hides the small gap where the hose meets the block. The copper tape is left over from my Phantom ship model hull plating. It's self adhesive copper tape 1/4" wide from Michaels store, I've cut it narrower to use here.Super glue holds everything together. |
| |
|
|
| |
|
 |
| |
|
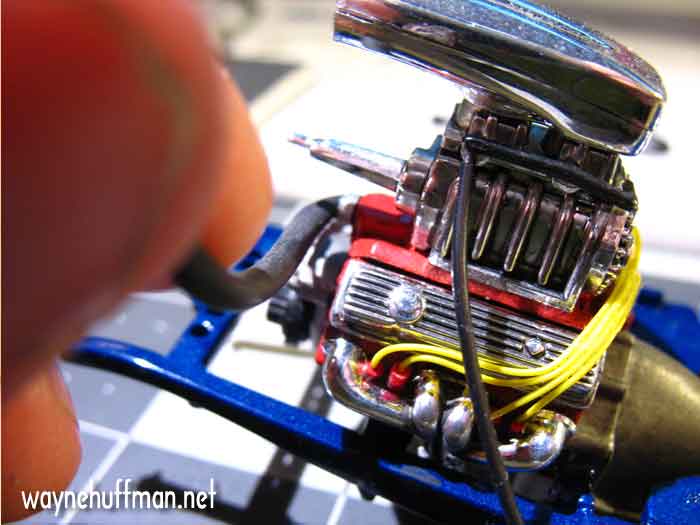
Making the bend to get to where the top of the radiator will be shows the wire insulation is still too thick and stiff. Heat worked once, I'll light a match and heat the rubber to make the sharp bend I need. |
| |
|
|
| |
|
 |
| |
|
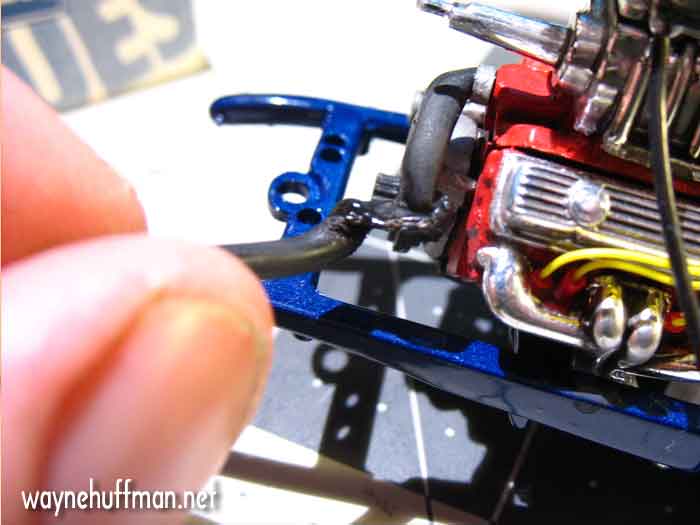
Oops too much heat... |
| |
|
|
| |
|
 |
| |
|
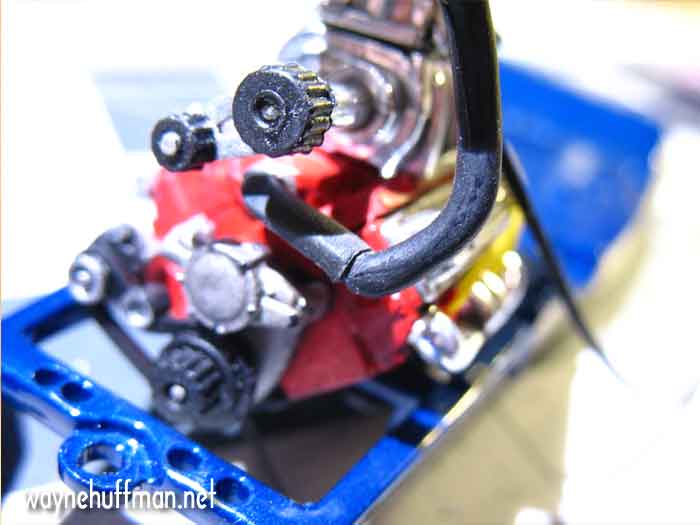
Back to the kit part. I cut my custom hose to the approximate length of the molded piece and super glued the plastic kit hose to it. I sanded the plastic part to get the rubber hose look. It actually looks pretty good. Another fake hose clamp will cover the joint. |
| |
|
|
| |
|
 |
| |
|
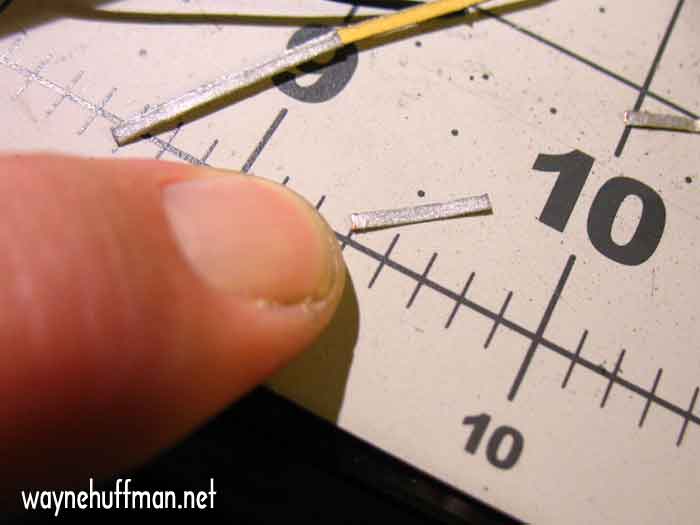
Here's the piece of copper tape, painted flat steel and cut to length. It's pretty small at this scale. |
| |
|
|
| |
|
 |
| |
|
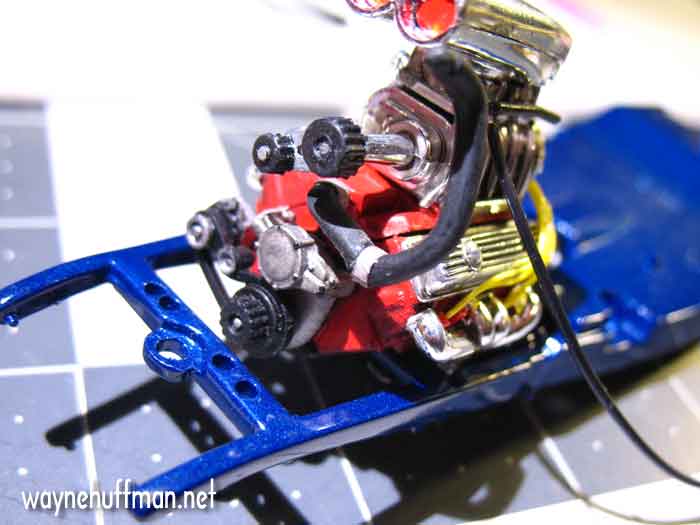
Hose clamp in place, much neater. The tape was secured with super glue at the middle, then the ends wrapped around and a dot of glue to secure them. |
| |
|
|
| |
|
 |
| |
|
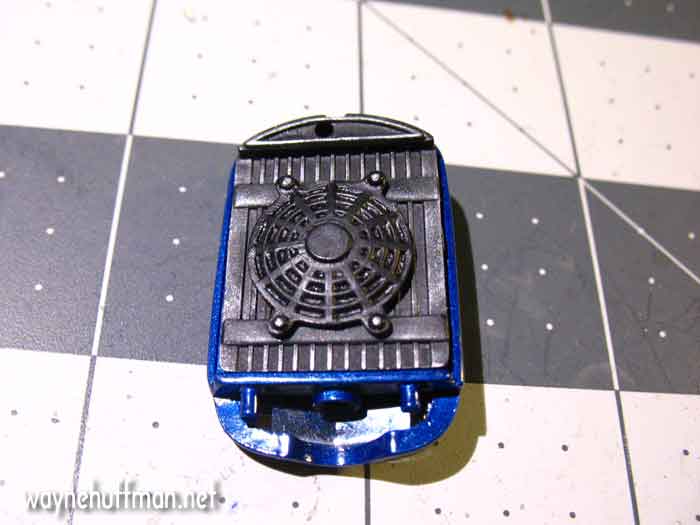
While my radiator hose was drying I turned my attention to the piece representing the radiator itself. It was just a monolithic black hunk of plastic so I drybrushed with the Flat Steel paint. I loaded the brush with paint, then stroked across a piece of paper until very little paint was left on the brush. Then I just stroked the brush over the details on the plastic part to do some subtle highlighting. It adds a little interest to what would otherwise be just a black piece of plastic. |
| |
|
|
| |
|
 |
| |
|
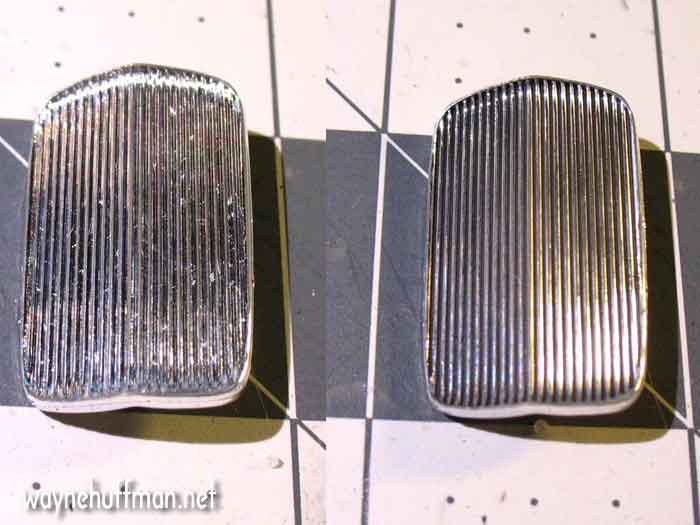
I also did a blackwash on the chromed grill. There are 3 choices for the grill so you can customize your model. The photoetched grill was very disappointing, this was the best of the three. The left side is before, the right side is after the blackwash. It's hard to photograph but you can see the blackwashed grill has more depth and looks more realistic. |
| |
|
|
| |
|
 |
| |
|
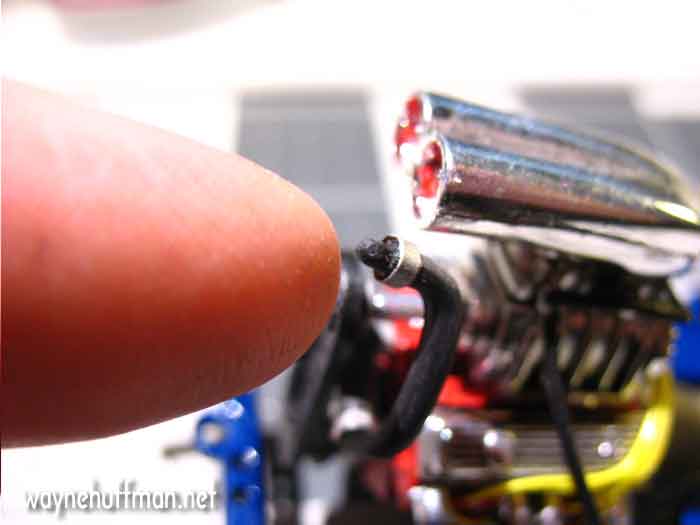
Here's the end of the radiator hose with another hoseclamp in place. Once it's glued to the radiator there will be no room to work on the copper tape for the hose clamp so I did it before I glued everything together. It's hard to see in the background but I used the plastic blower belt instead of making something myself. I realized when the radiator is in place you can't see the gaps between the hard plastic belt and the pulleys it is supposed to be riding on. Sometimes it's better to just use what you've got and move on. |
| |
|
|
| |
|
 |
| |
|
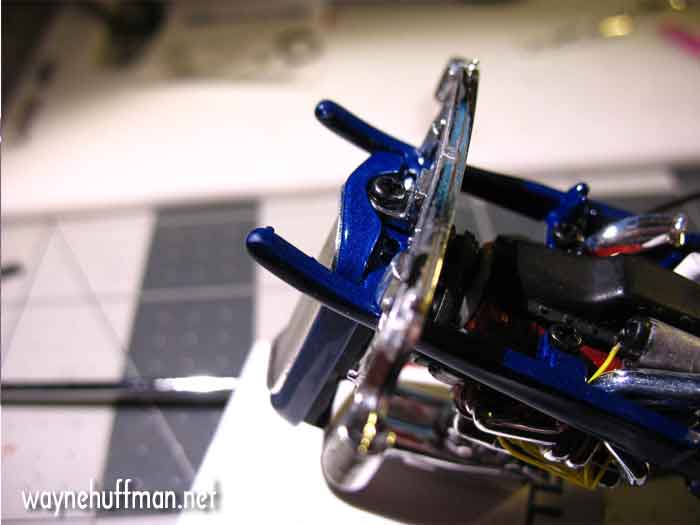
This view is from the bottom of the chassis. The radiator hose was super glued to the radiator first, then the radiator was set on the chassis. The method of attachment here is not glue but a black self tapping screw that goes through the front axle asssembly, the chassis and then the grill/radiator assembly. I blackwashed the front axle before screwing it all together. This completes the engine assembly portion of the model. |
| |
|
|
| |
|
 |
| |
|
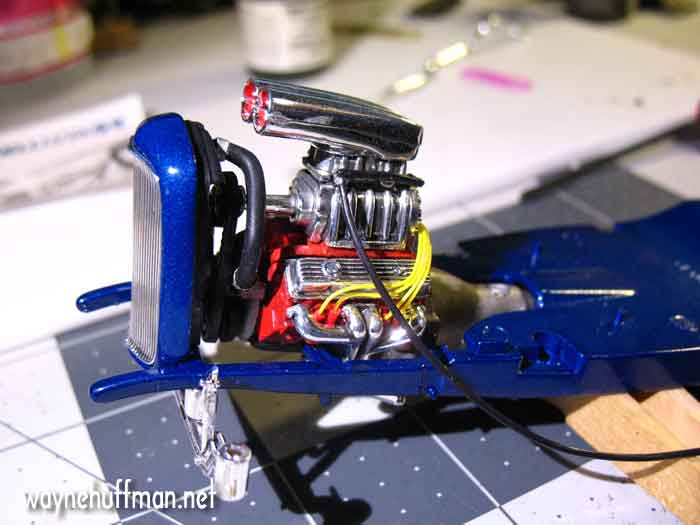
The competed engine assembly and radiator attached to the chassis with front axle below. It's sitting on a clothespin to give you an idea of the size. |
| |
|
|
| |
|
 |
| |
|
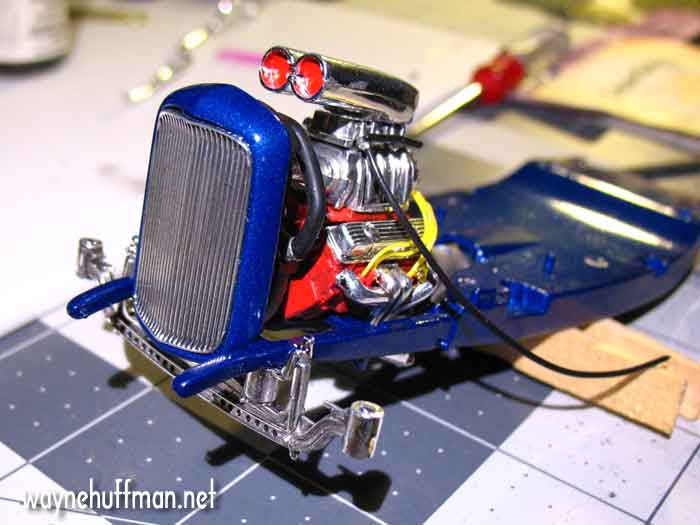
Another view with a better look at the grill and axle. |
| |
|
|
| |
|
Next: Attaching the exhaust and suspension components |
| |
|
|
| |
|
|
| |
|
|
| |
|
|
| |
|
|
| |
|
|
| |
|
 NEWER NEWER |
Beginning of this build |
OLDER |
| |
|
|
|

